| .. | ||
| code | ||
| img | ||
| .DS_Store | ||
| README.md | ||
Introduction
In this first lab we are going to do the basics. We'll:
- Log into AWS
- Use cloudshell (as this has all your credentials set up already)
- Get your environment ready to run terraform/tofu
- Run a simple example
Log into AWS
First of all head to https://aws.amazon.com and sign into your console. The next thing to do is check that you are working inthe correct region. For this lab everything is coded for eu-west-1 (Ireland) so make sure you select the correct region at the top right hand of the page.
Once in this region we are setup for the following labs.
Note
We'll be creating infrastructure throughout and AWS does charge for your actual usage
Open CloudShell
For these labs we are going to use the AWS supplied CloudShell, now you can do this from your own machine, however, you'll need to setup the AWS CLI tool and AWS credentials which is beyond the scope of these labs. The nice thing about CloudShell is that it's already configured with your credentials for accessing AWS resources. You also launch this by heading up to the main bar in the AWS console and clicking the icon highlighted below:
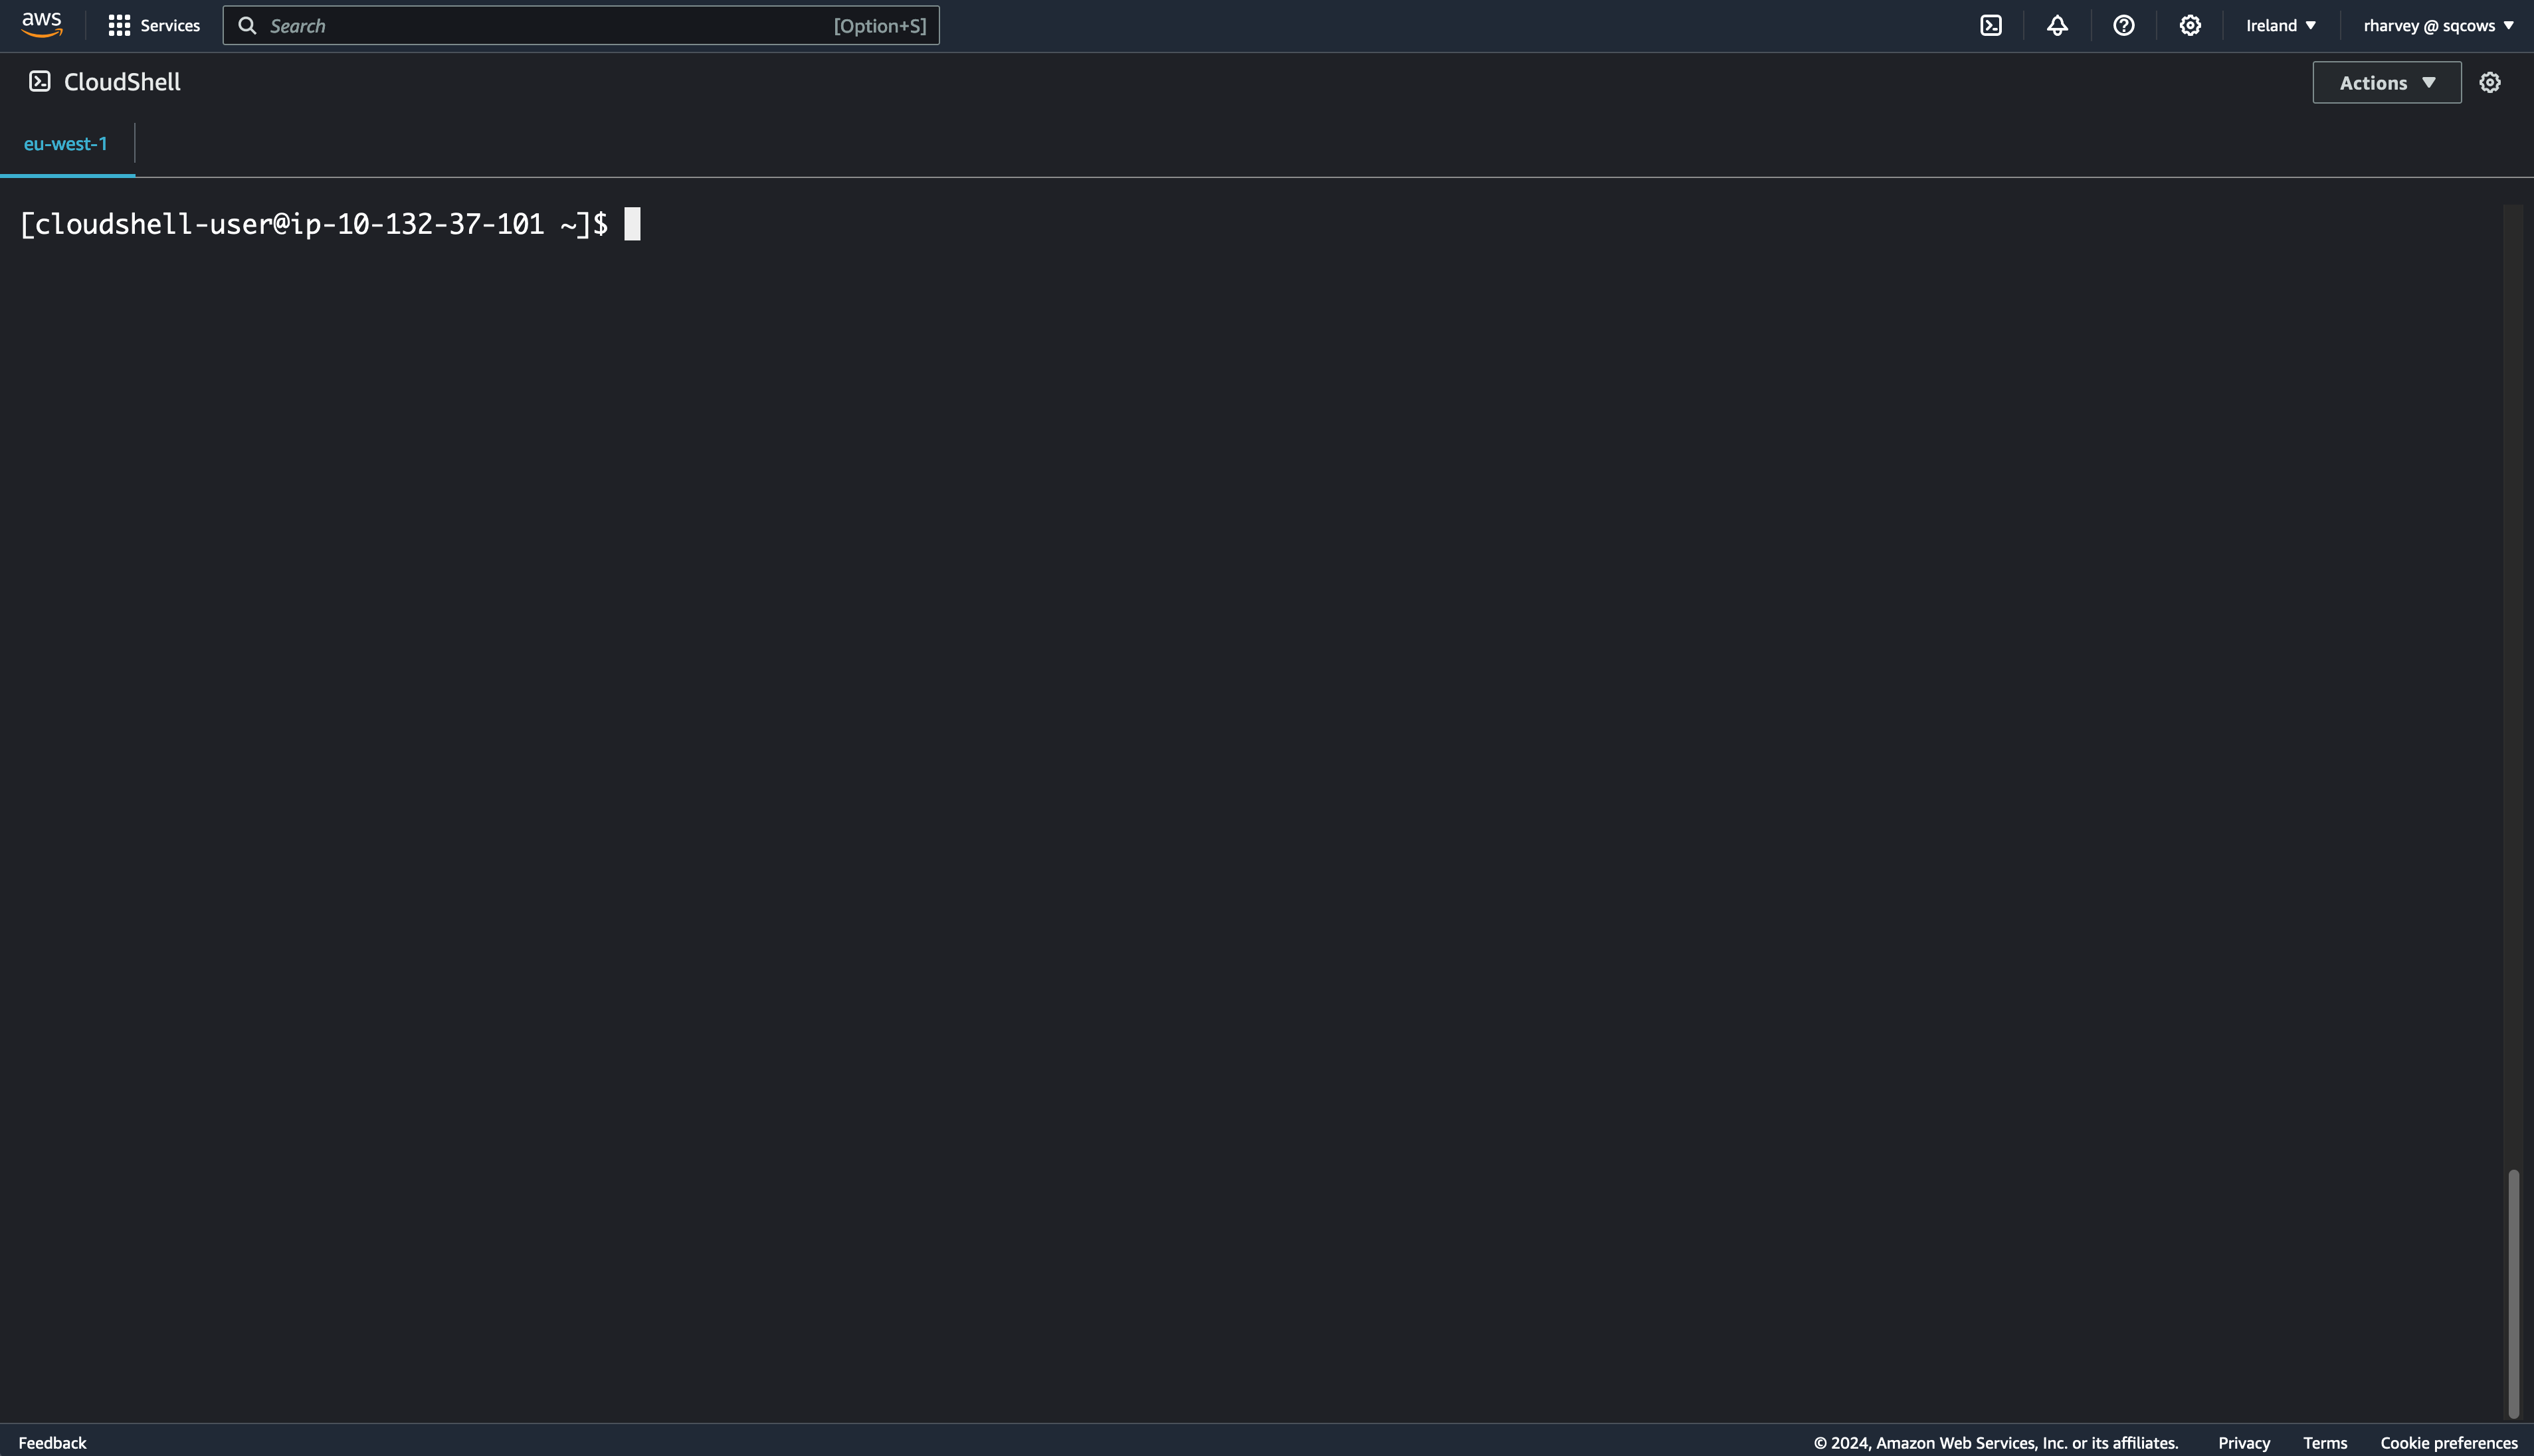
Once launched you can hit the arrow to break the shell out into it's own browser tab. I personally find it easier to work this way. It's also good to know there is no charge to run CloudShell. It'll look a little like this when opened:
Right lets get you setup to run terraform or openTofu! You only need to do one of these so choose your tool of choice. I lean toward using tofu as it's fully open source, but if you want some of the newer features in terraform 1.8.0 and higher the guide is here for you also.
Note
Periodically you CloudShell is rebuilt and anything thats not stored in your home directory will be deleted, for this reason the method's below store the tooling in your home directory.
Install Terraform
First we are going to install a tool that make's it easy to install the binaries for Terraform. Copy and Paste the below into your CloudShell:
git clone https://github.com/tfutils/tfenv.git ~/.tfenv
mkdir ~/bin
ln -s ~/.tfenv/bin/* ~/bin/
Find the latest version and install it (at the time of writing it was 1.8.0):
tfenv list-remote
tfenv install 1.8.0
tfenv use 1.8.0
Now test it's all working:
terraform --version
The output should look likt e following screenshot:
Install Tofu
If like me you prefer to use open source tools this is how to make tofu persist in CloudShell, Copy and Paste the following into your terminal:
# Download the installer script:
curl --proto '=https' --tlsv1.2 -fsSL https://get.opentofu.org/install-opentofu.sh -o install-opentofu.sh
# Alternatively: wget --secure-protocol=TLSv1_2 --https-only https://get.opentofu.org/install-opentofu.sh -O install-opentofu.sh

# Give it execution permissions:
chmod +x install-opentofu.sh

# Please inspect the downloaded script

# Run the installer:
./install-opentofu.sh --install-method rpm

# Remove the installer:
rm install-opentofu.sh

# Make Tofu remain in your path after reboots
mkdir ~/bin
sudo mv /usr/bin/tofu ~/bin
Now test it's all working:
tofu --version
The output should look likt e following screenshot:
Now your tooling is installed and should survice you reconnecting to CloudShell.
Test Deployment
Before we deploy to AWS we need to pull the code down from GitLab onto your CloudShell. To do this run the follwoing commands:
git clone https://gitlab.com/ric_harvey/terraform-tofu-labs.git
cd terraform-tofu-labs
The output will look like the following:
Now lets run some code.
Note
You can replace the commands for
terraformfromtofuif you are running that version
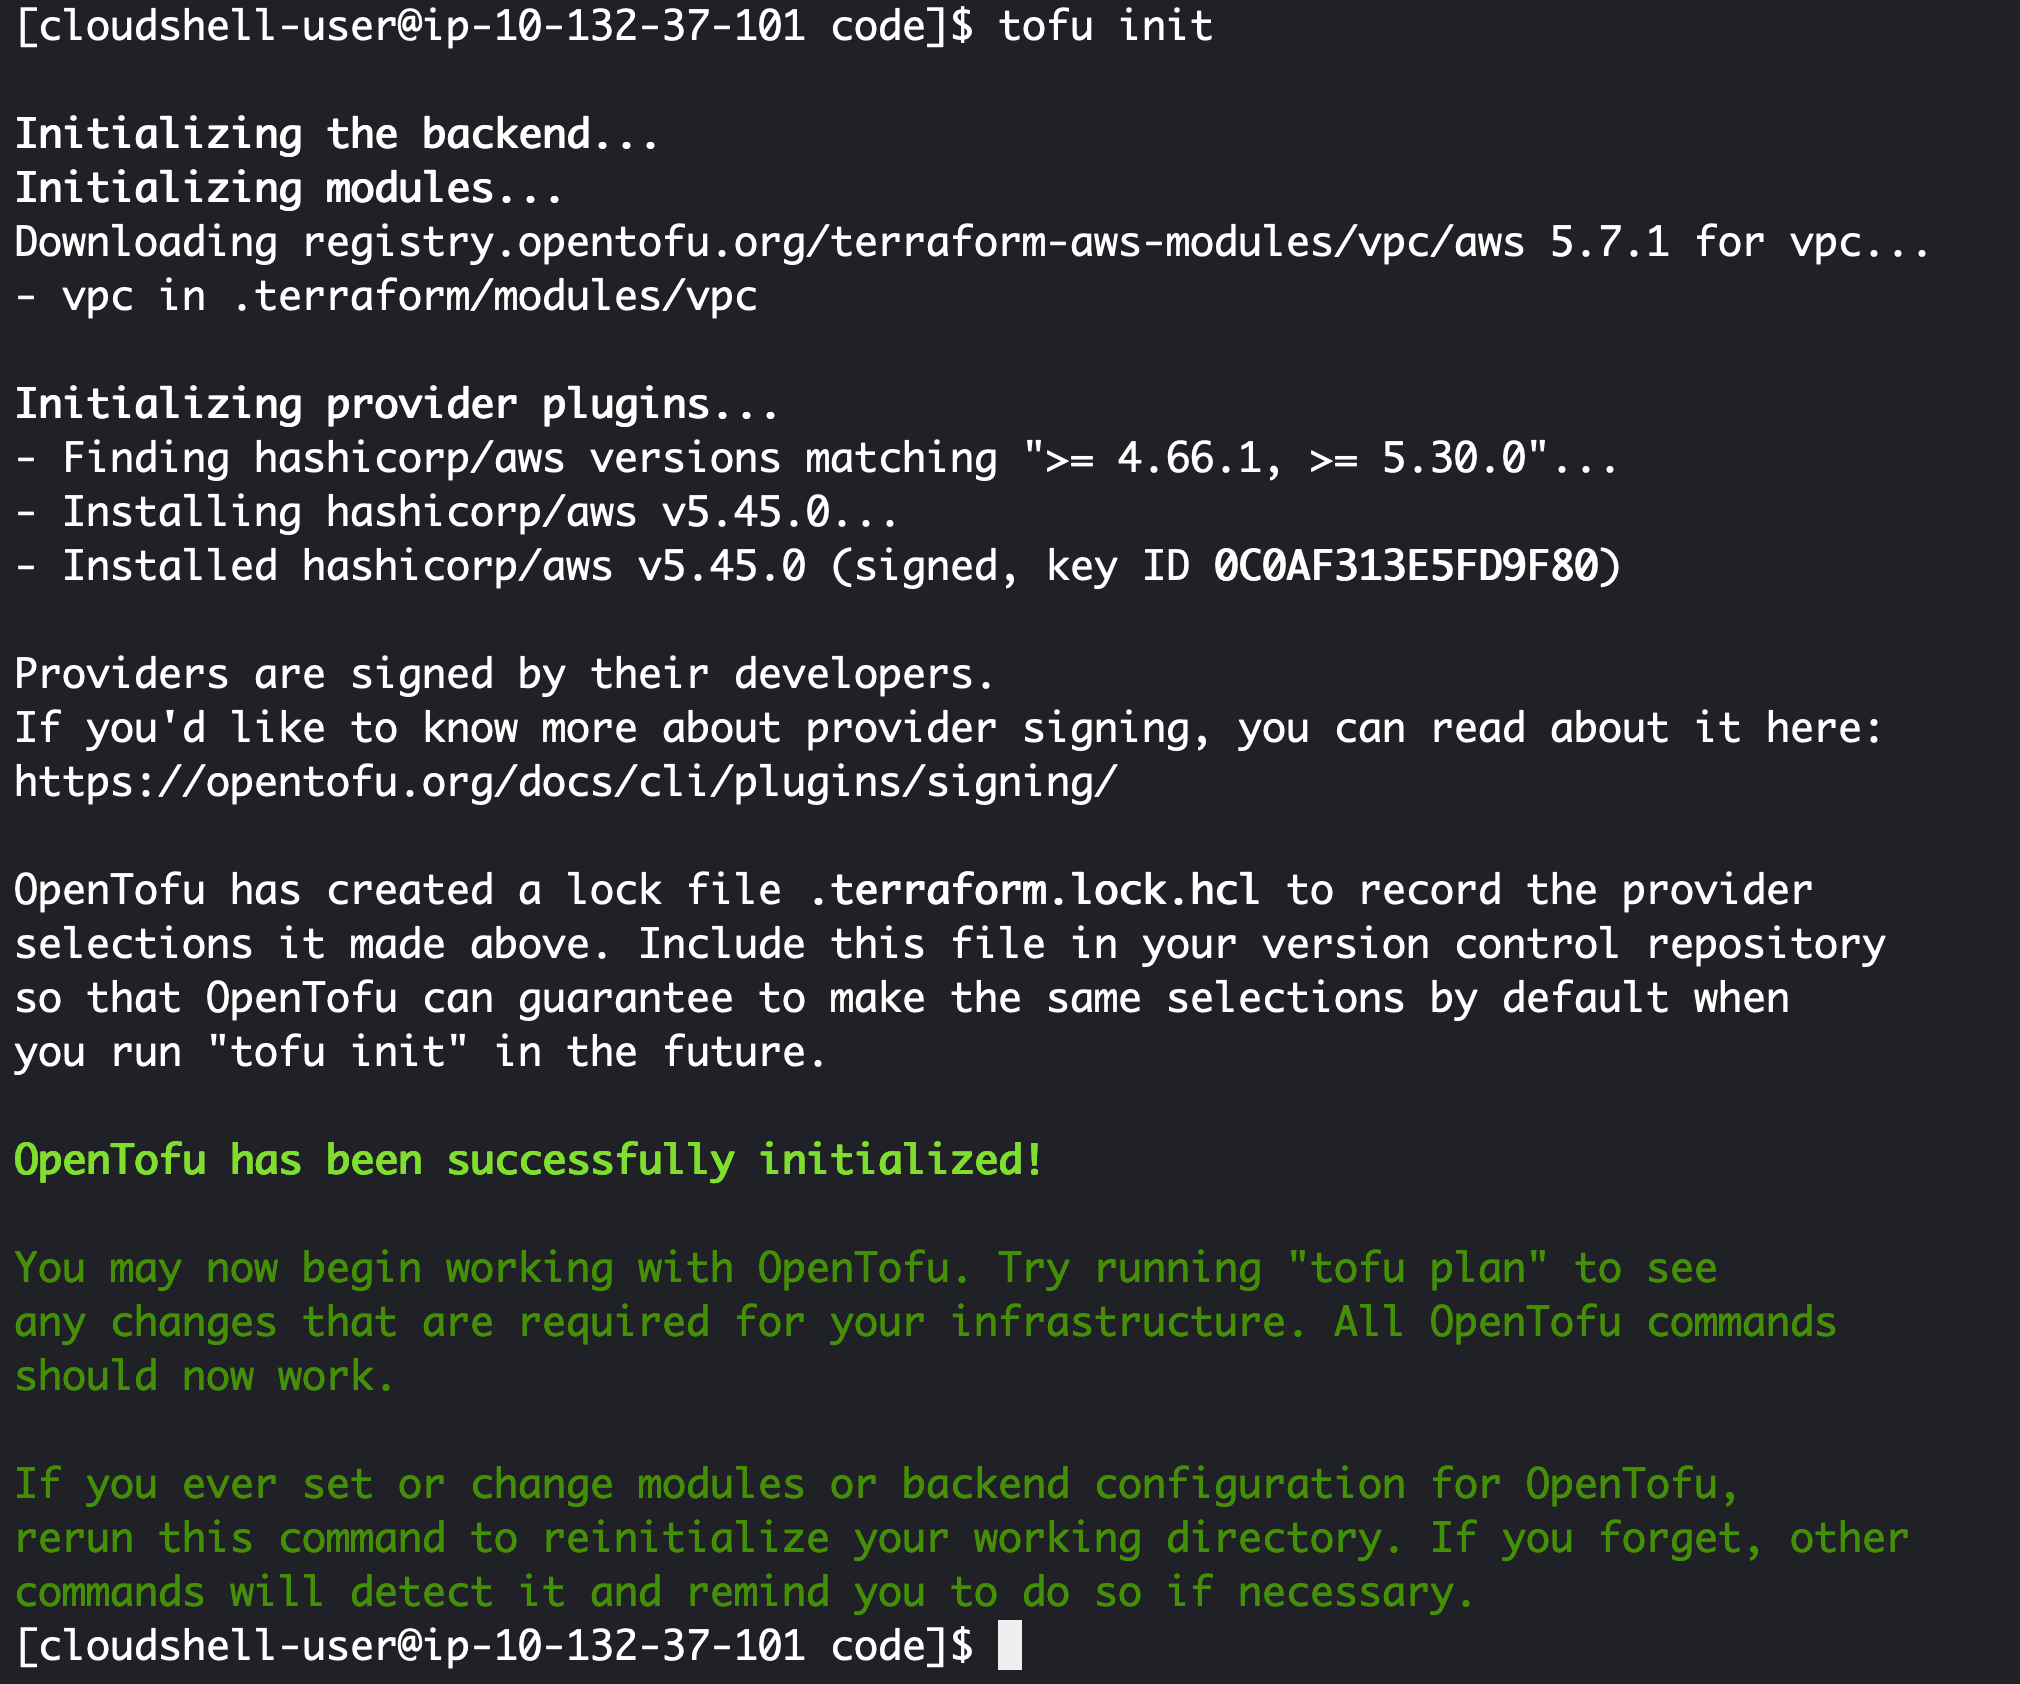
init
First lets initialise our terraform/tofu environment:
cd 1-getting-started/code/
tofu init
This has installed all the providers and modules you need for running your code, basically it's downloaded any dependancies.
plan
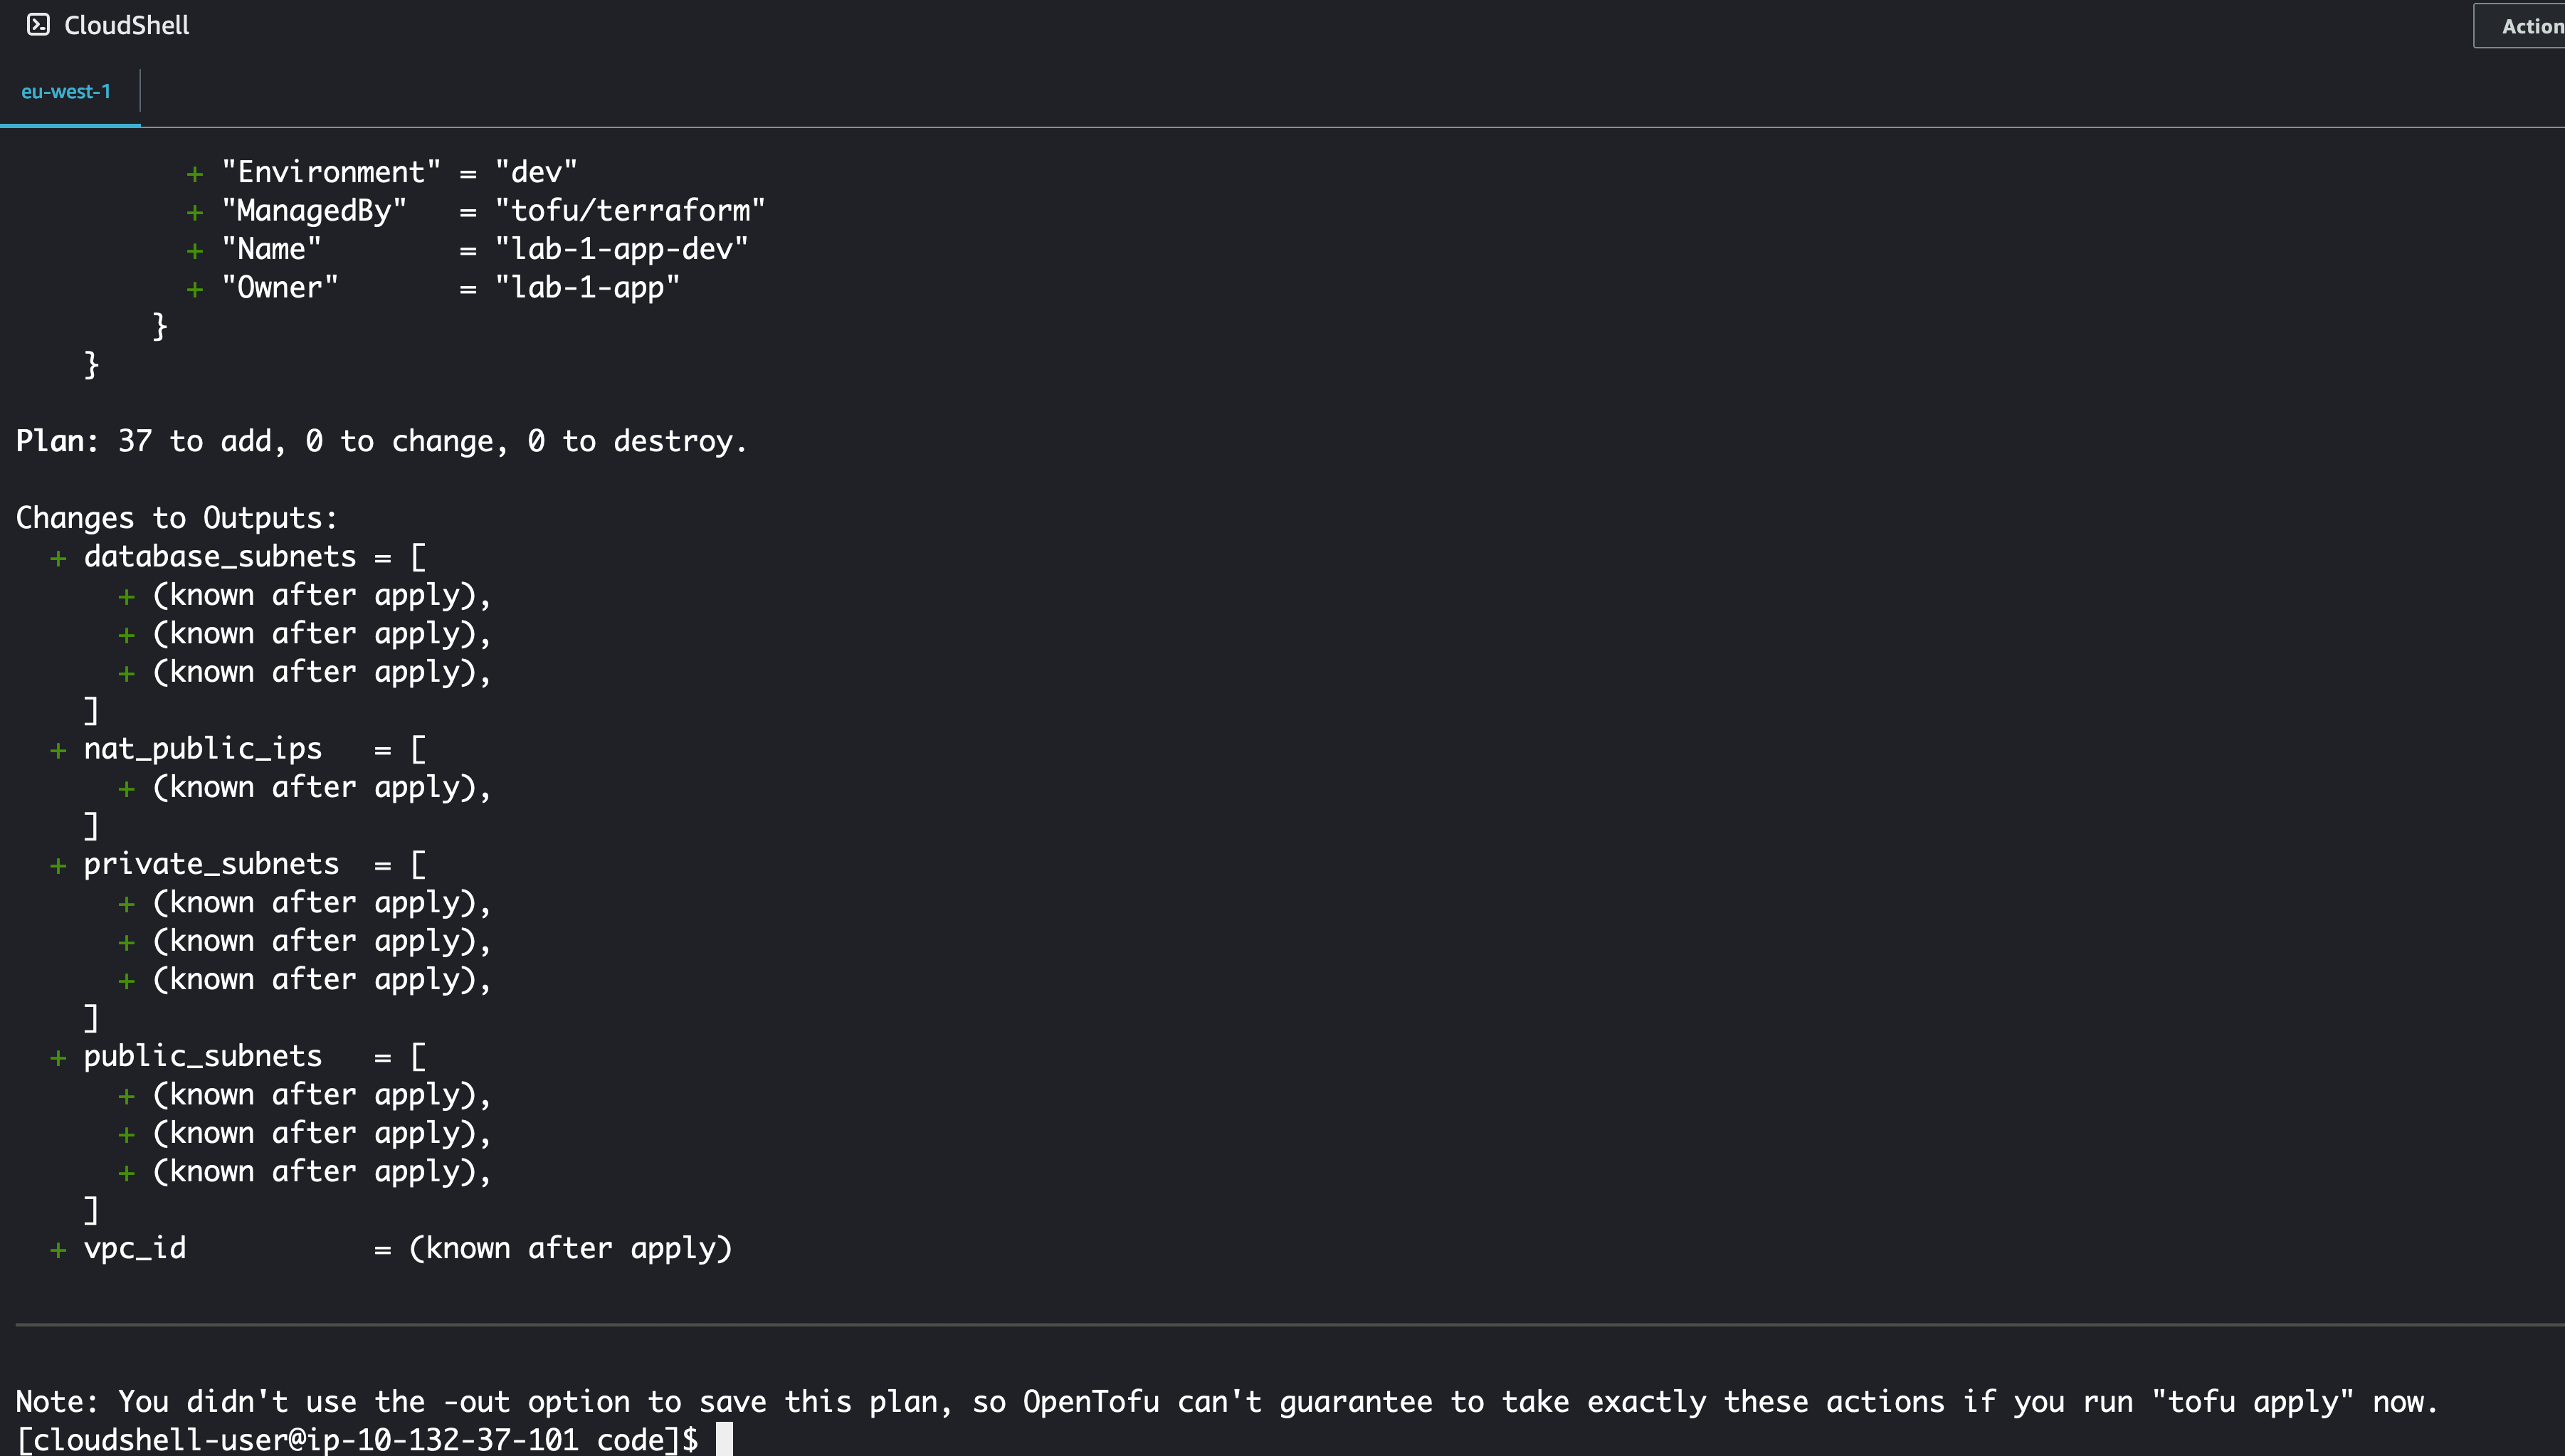
Now we are going to run tofu plan, this will test that your code will actually run and compare the code to any previous deployed resources saved in a state file (more on this later).
tofu plan
This command will generate a lot of output, if you get any RED text you have an issue and you'll need to debug. The code in the repository should be fine however, if not please open an issue.
apply
Now lets apply this IaC and deploy the following:
- A VPC
- 9 Subnets
- 3 Public
- 3 Private
- 3 Database
- An EC2 instance with a Security Group
- Allows TCP ports 22,80 and 443 ingress
- Allows all egress
Lets run the following code:
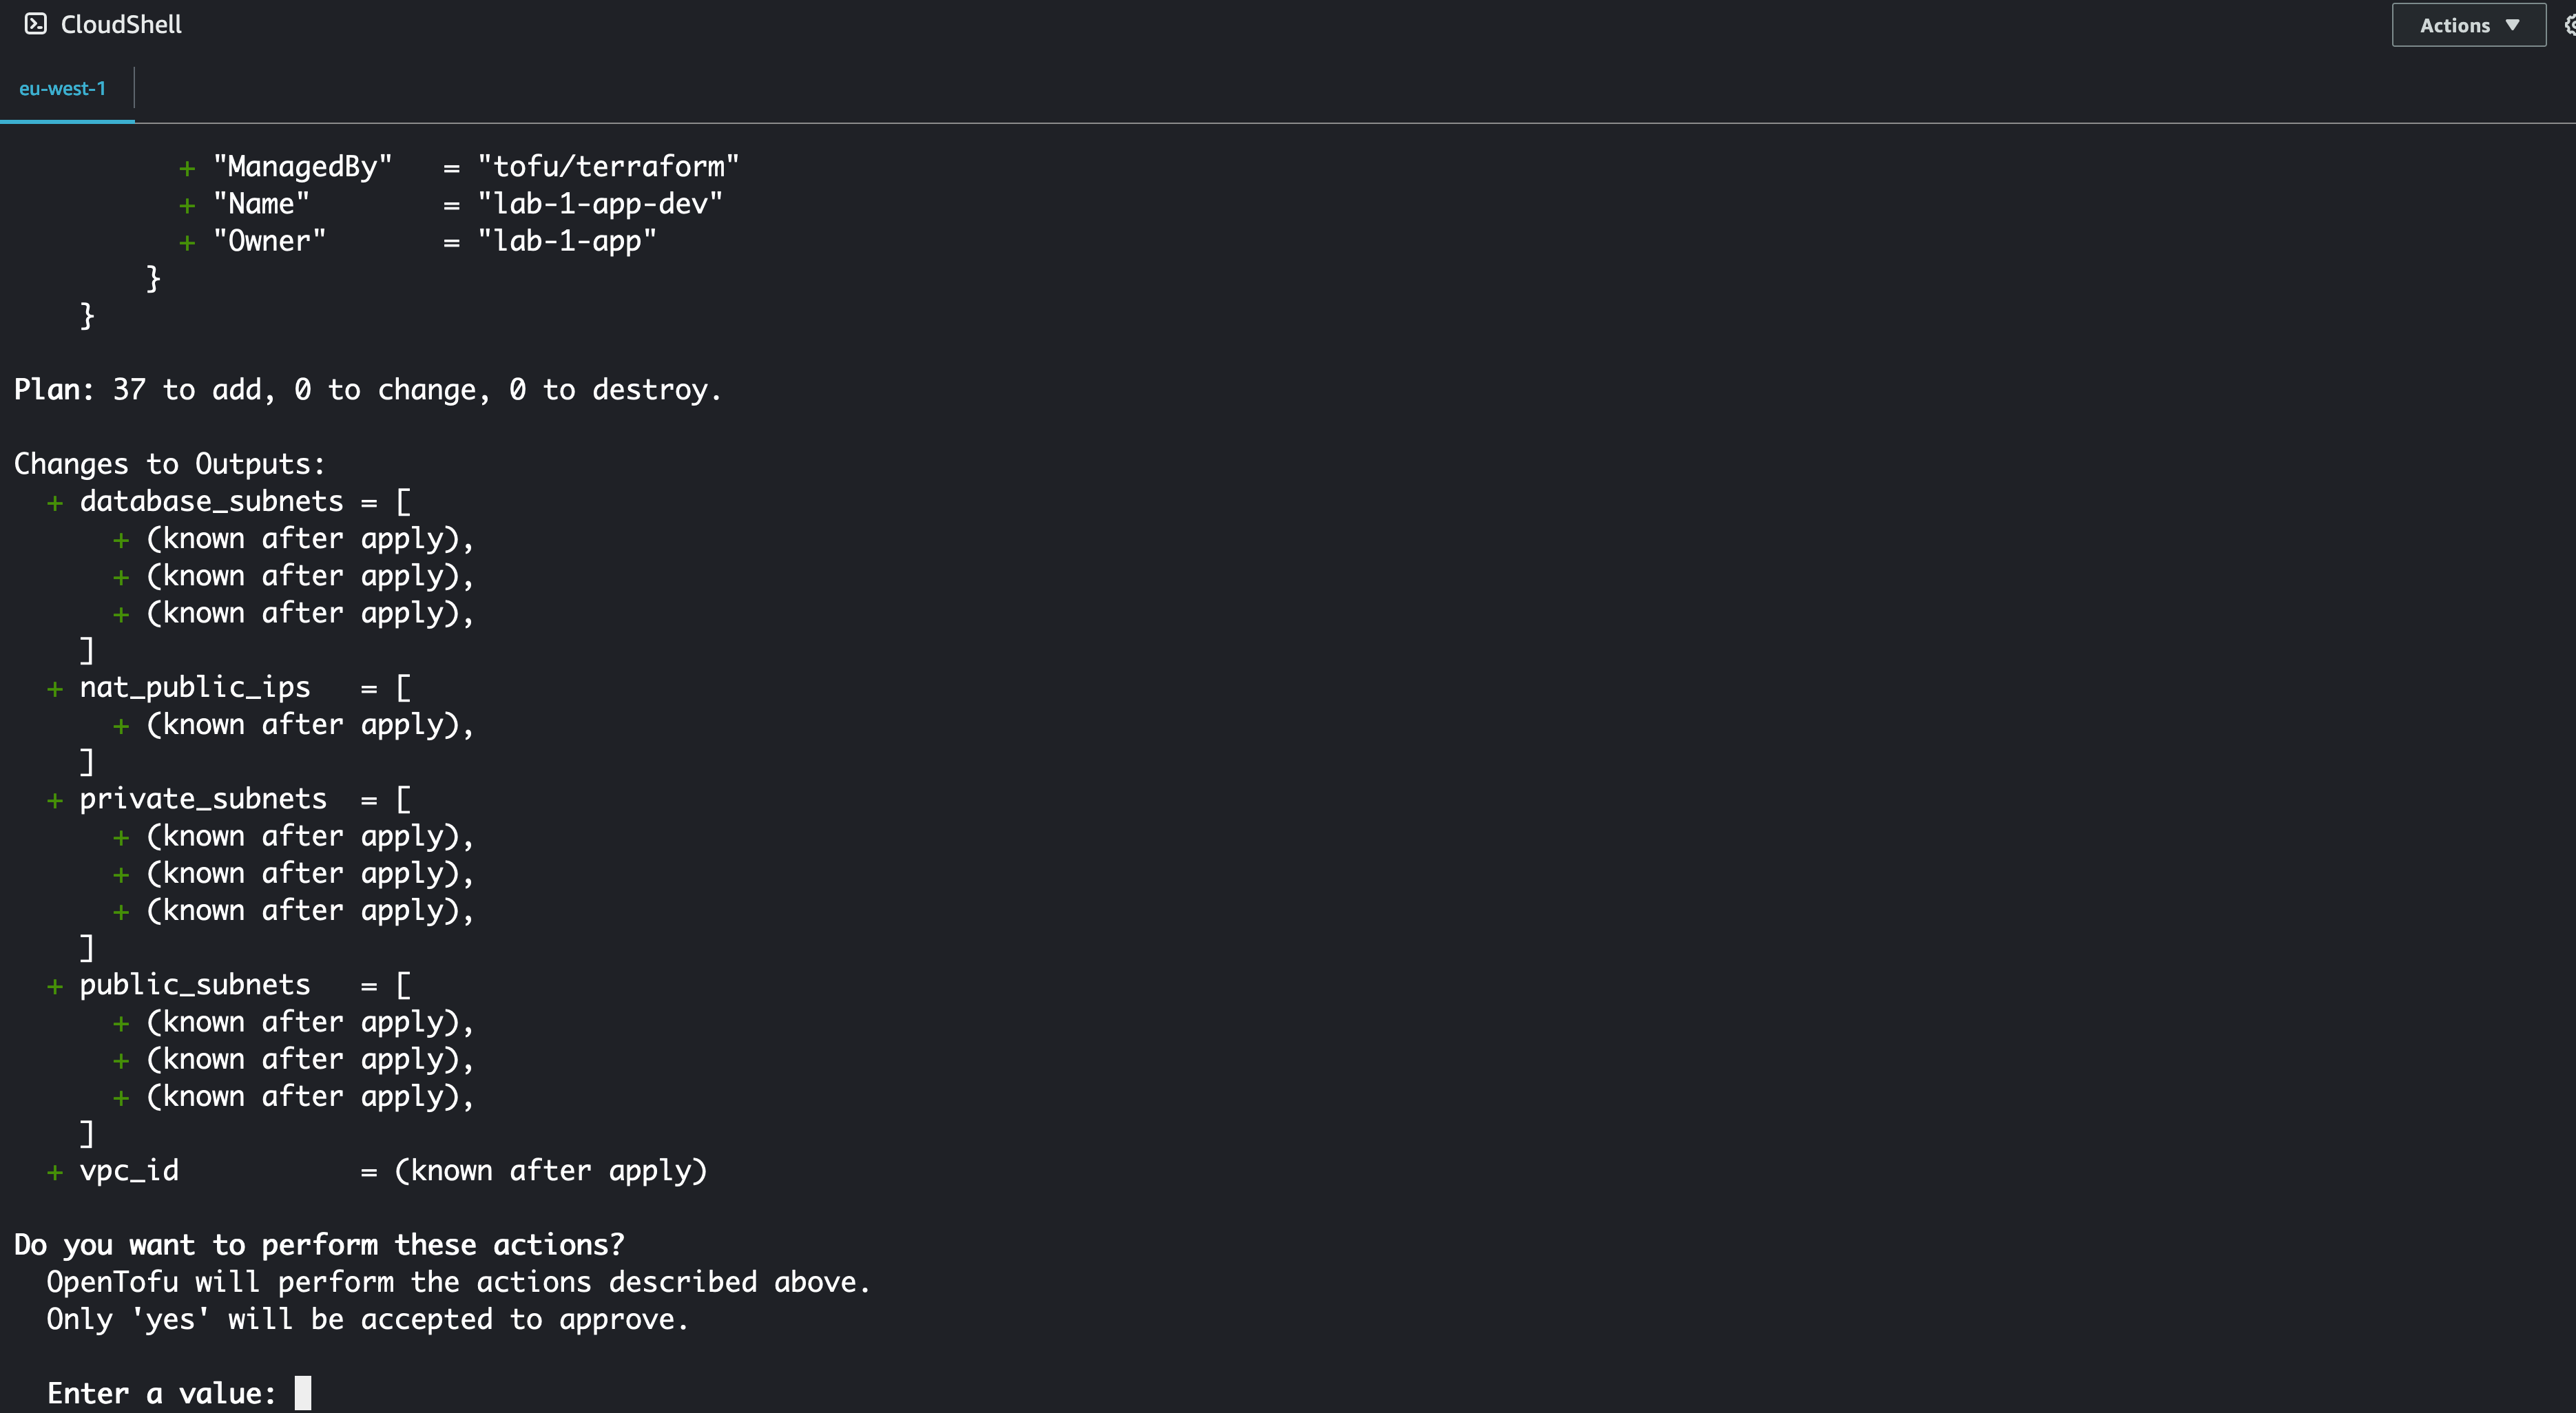
tofu apply
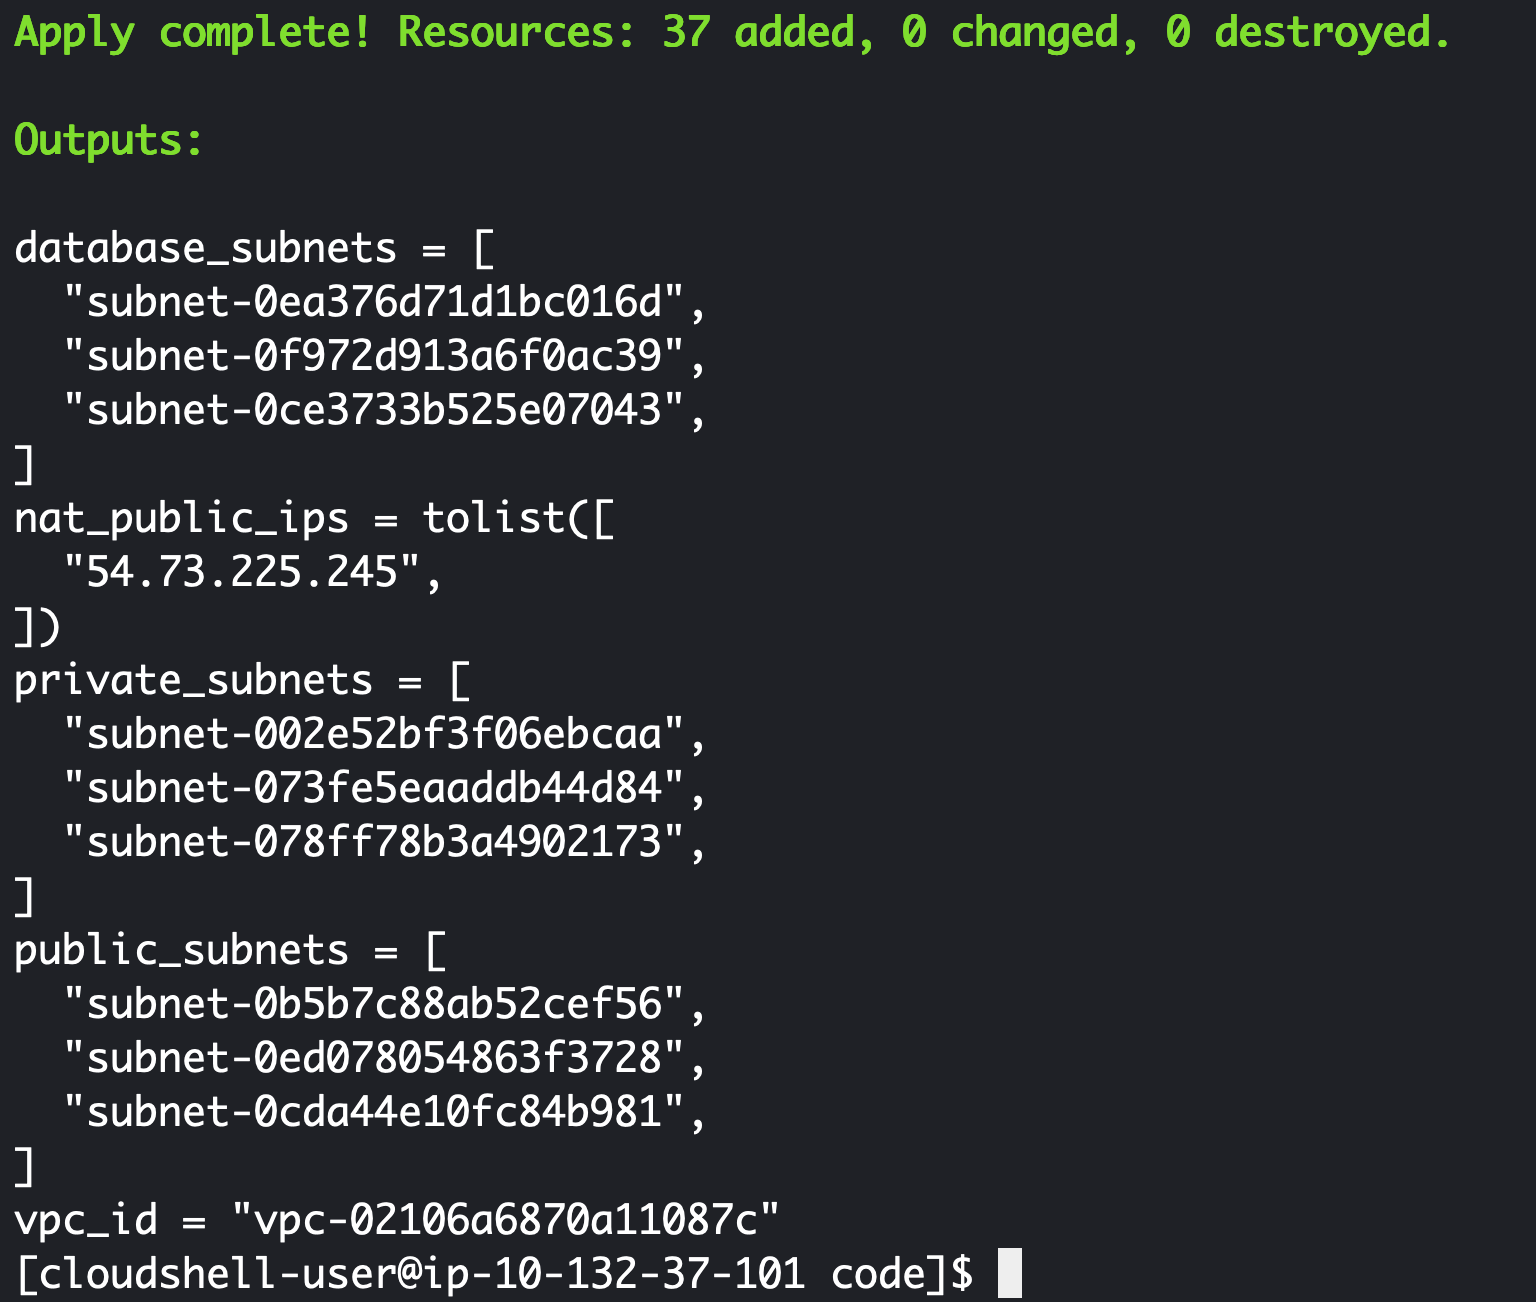
At the prompt you need to type yes in order to actually deploy the infrastructure, anything else will result in the program terminating. Once complete you should see the following output:
The Outputs seen on the screen are controlled by the outputs.tf file in the repo. If you browse in the AWS console to EC2 > Instances you should see that there is indeed a new EC2 instance running in your account.
destroy
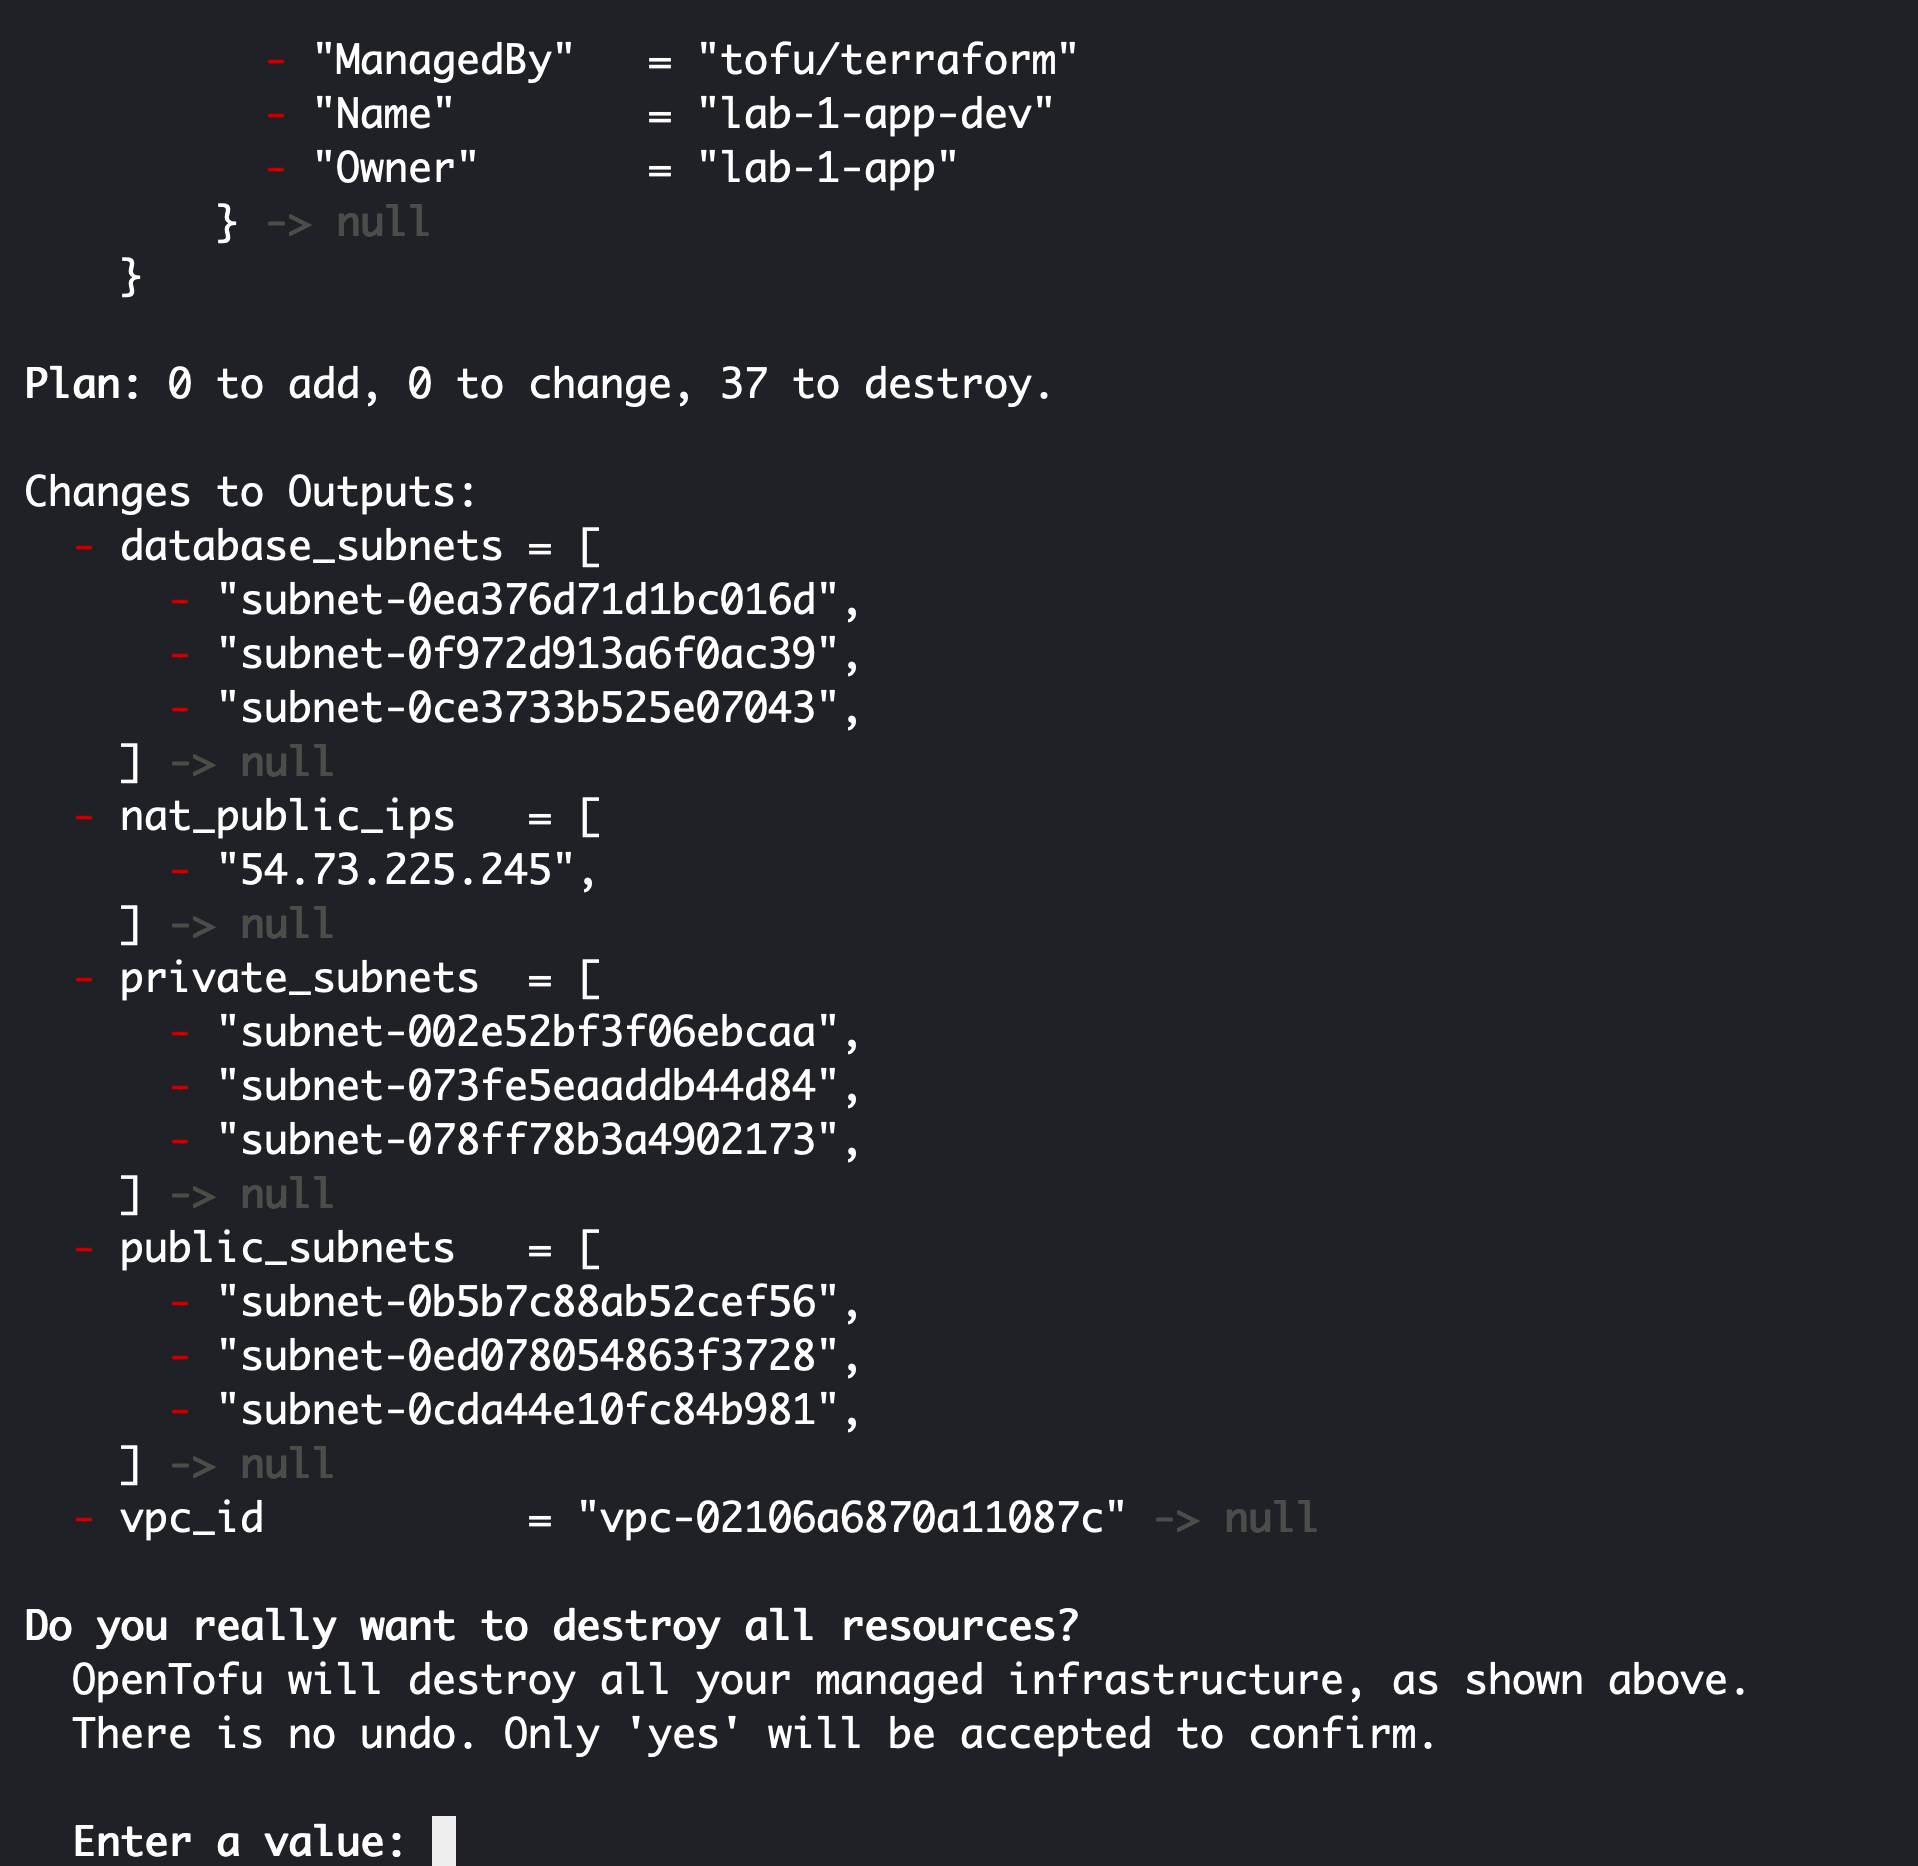
Right time is money as they say, lets shut this down and stop spending it. Luckily in tofu/terraform this is super easy to do and we can run the following command. Tofu will reference the .tfstate file and see what it needs to do to shut everything down.
tofu destroy
This command can take a while to run, be patient and it'll do it's job. You'll get prompted along the way yo confirm you really want to delete everything, make sure to answer yes again.
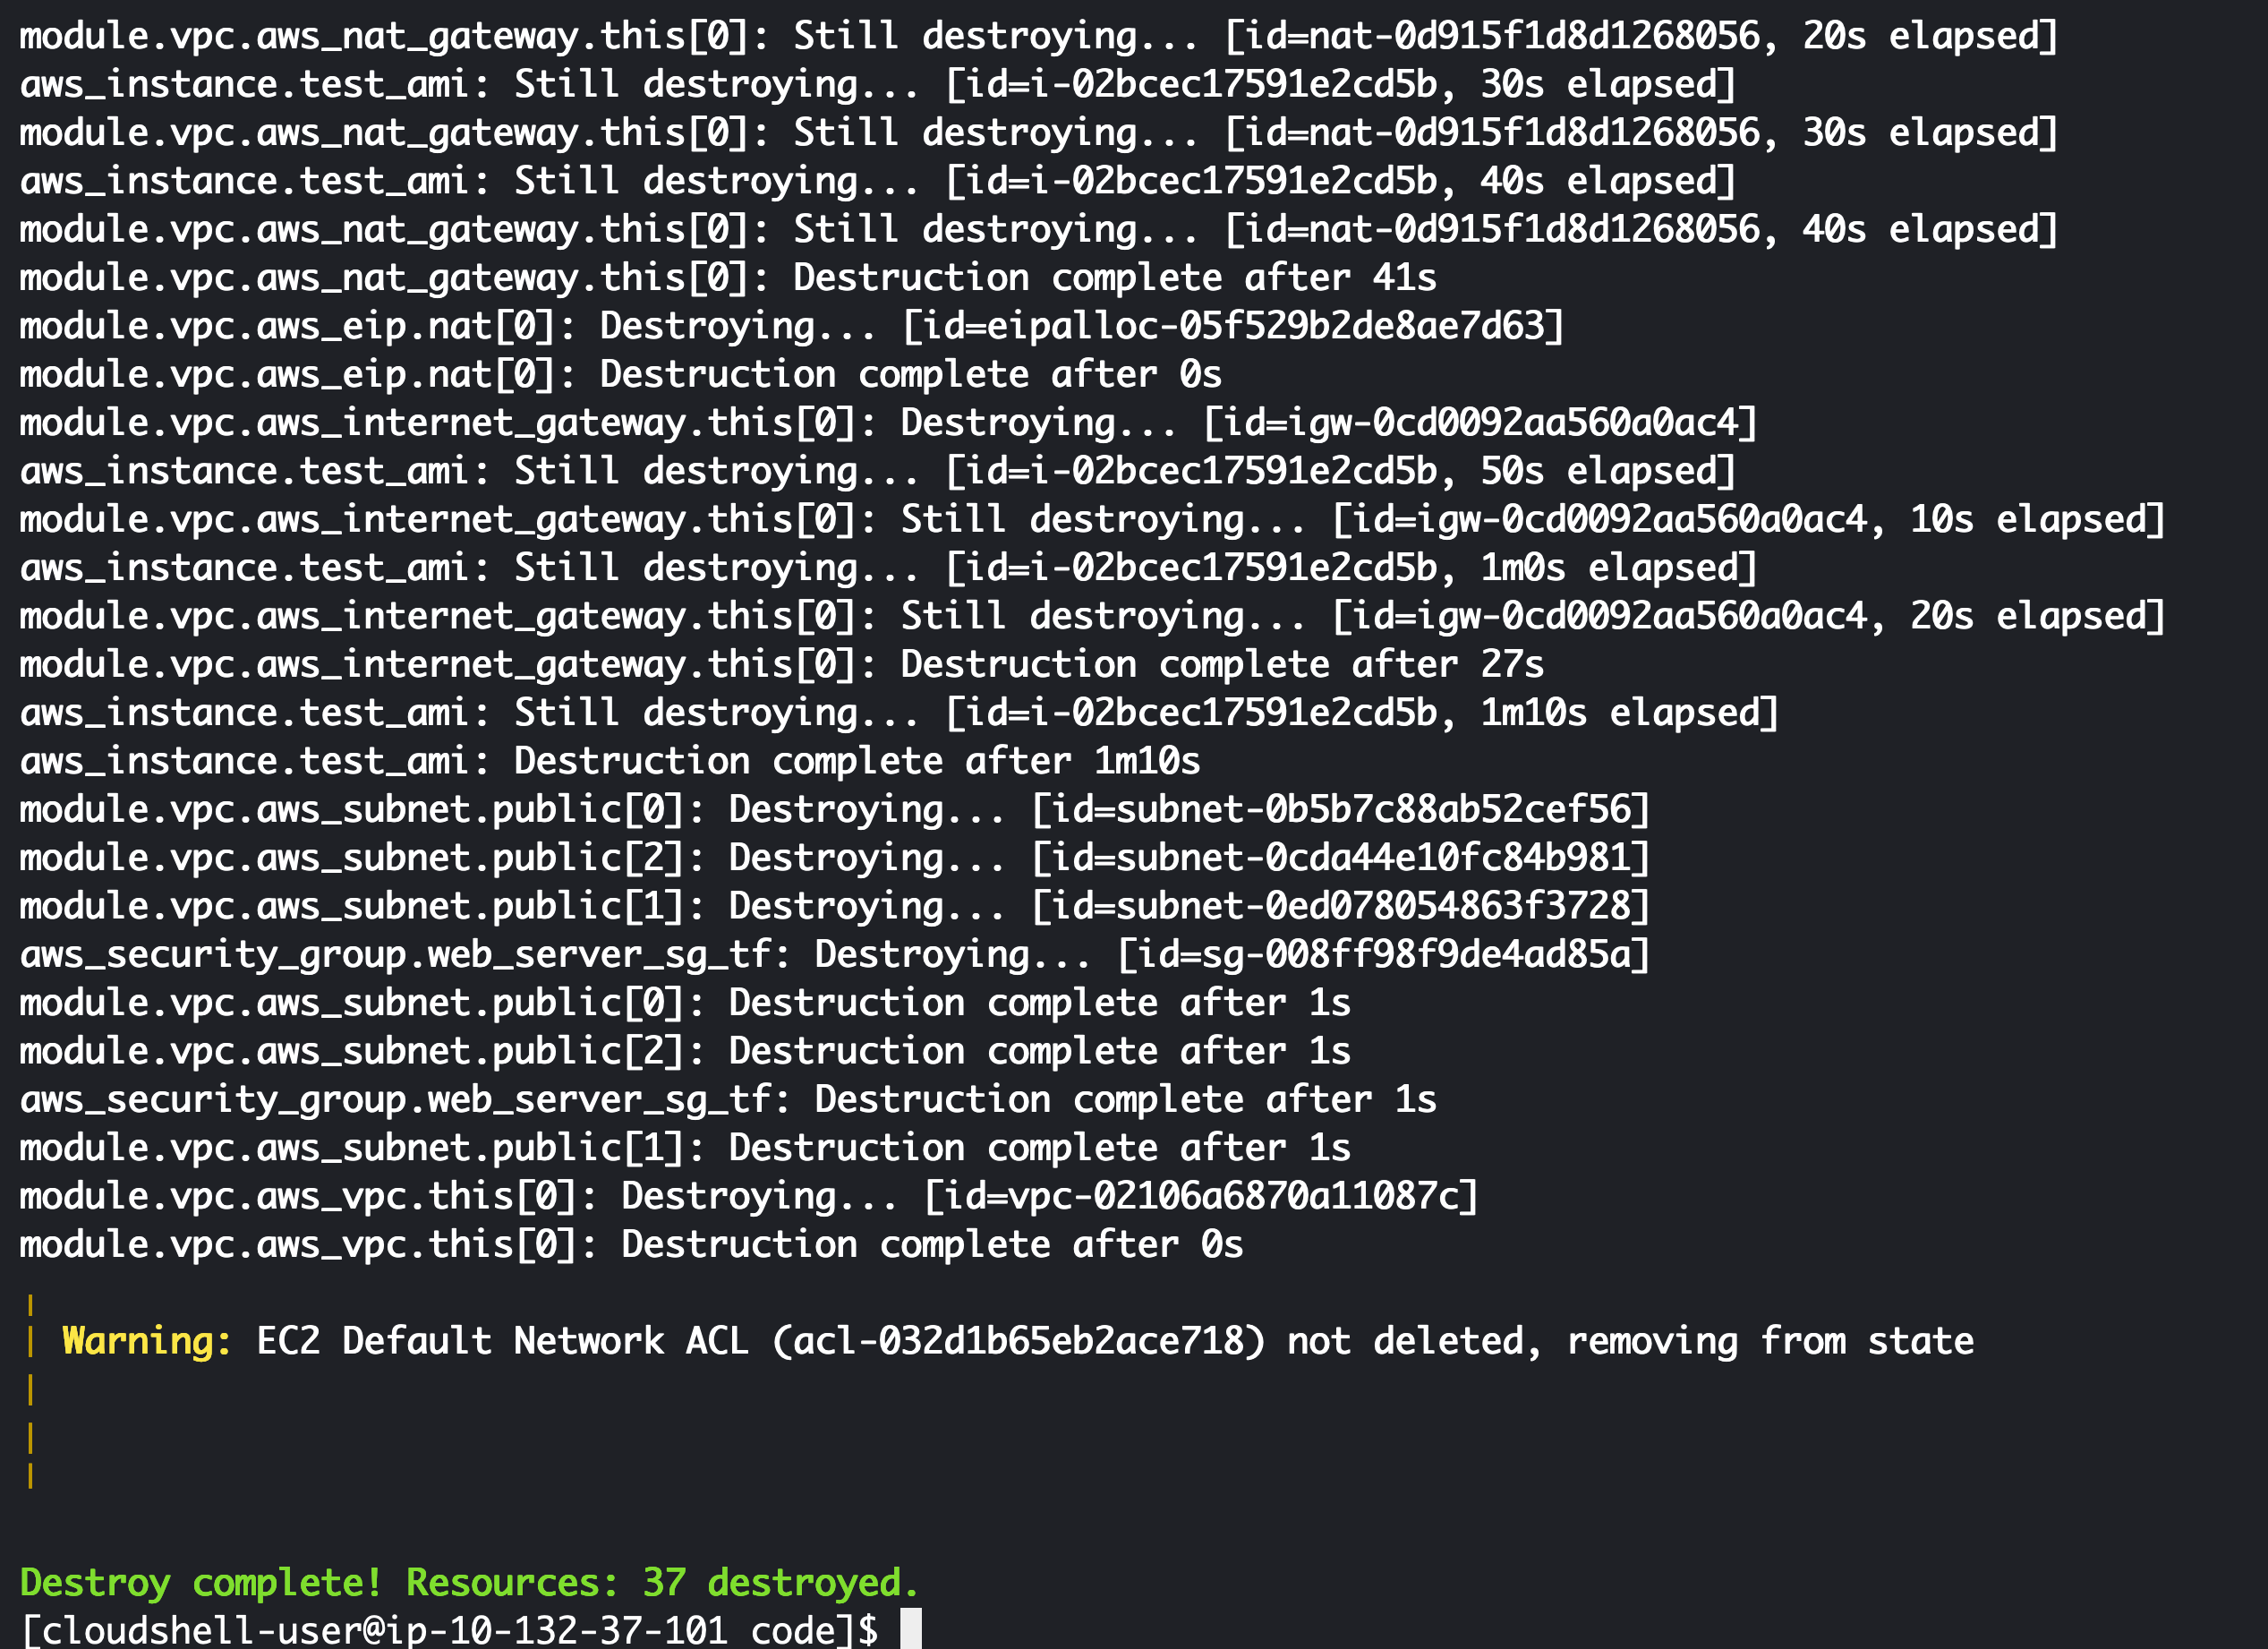
Once complete, you'll get some confirmation like the picture below:
Note
Don't worry about the warning you'll be ok with the acl not being deleted, it won't cost anything
Recap
What we've learnt during this exercise:
- How to install terraform/tofu in cloud shell
- terraform/tofu basic commands
- init
- plan
- apply
- destroy
Now lets move onto the next lab to learn how to customise this and build upon it.


