| .. | ||
| code | ||
| img | ||
| .DS_Store | ||
| README.md | ||
Introduction
Welcome to lab 2. You are going to find the code here very similar to lab 1, and thats by design, we'll build upon our experience and learn how to add variables and use environment files, so that you can reuse the code in say a deployment for dev, stage and prod. This is the power of IaC and prevents you having to rebuild everything from scratch.
Now I'll assume you have your AWS account and CloudShell setup already. If not please reffer to the lab 1 README.md.
In this example we are going to do the same and deploy a VPC with subnets and an instance with a security group attached. What's different is that this time we'll use the user_data feature of EC2 to run apache and show you a running web server. In the main.tf file it differs in the aws_resource block of code to include the command to start apache.
resource "aws_instance" "test_ami" {
  ami                    = "ami-029b91ed285a24a90"
  instance_type          = "t4g.nano"
  associate_public_ip_address = true
  subnet_id              = module.vpc.public_subnets[0]
  vpc_security_group_ids = [aws_security_group.web_server_sg_tf.id]

  user_data = <<-EOF
              #!/bin/bash
              sudo dnf install -y nginx
              sudo systemctl start nginx
              EOF
}
I've also updated outputs.tf to show the public IP address of the instance we've deployed by adding this code block:
# Public IP of instance
output "instance_public_ip" {
  description = "Show the public IP of the instance deployed"
  value = aws_instance.test_ami.public_ip
}
Create a Stack
Once again lets deploy the stack before editing it:
cd 2-simple-example/code
tofu init
tofu plan
tofu apply
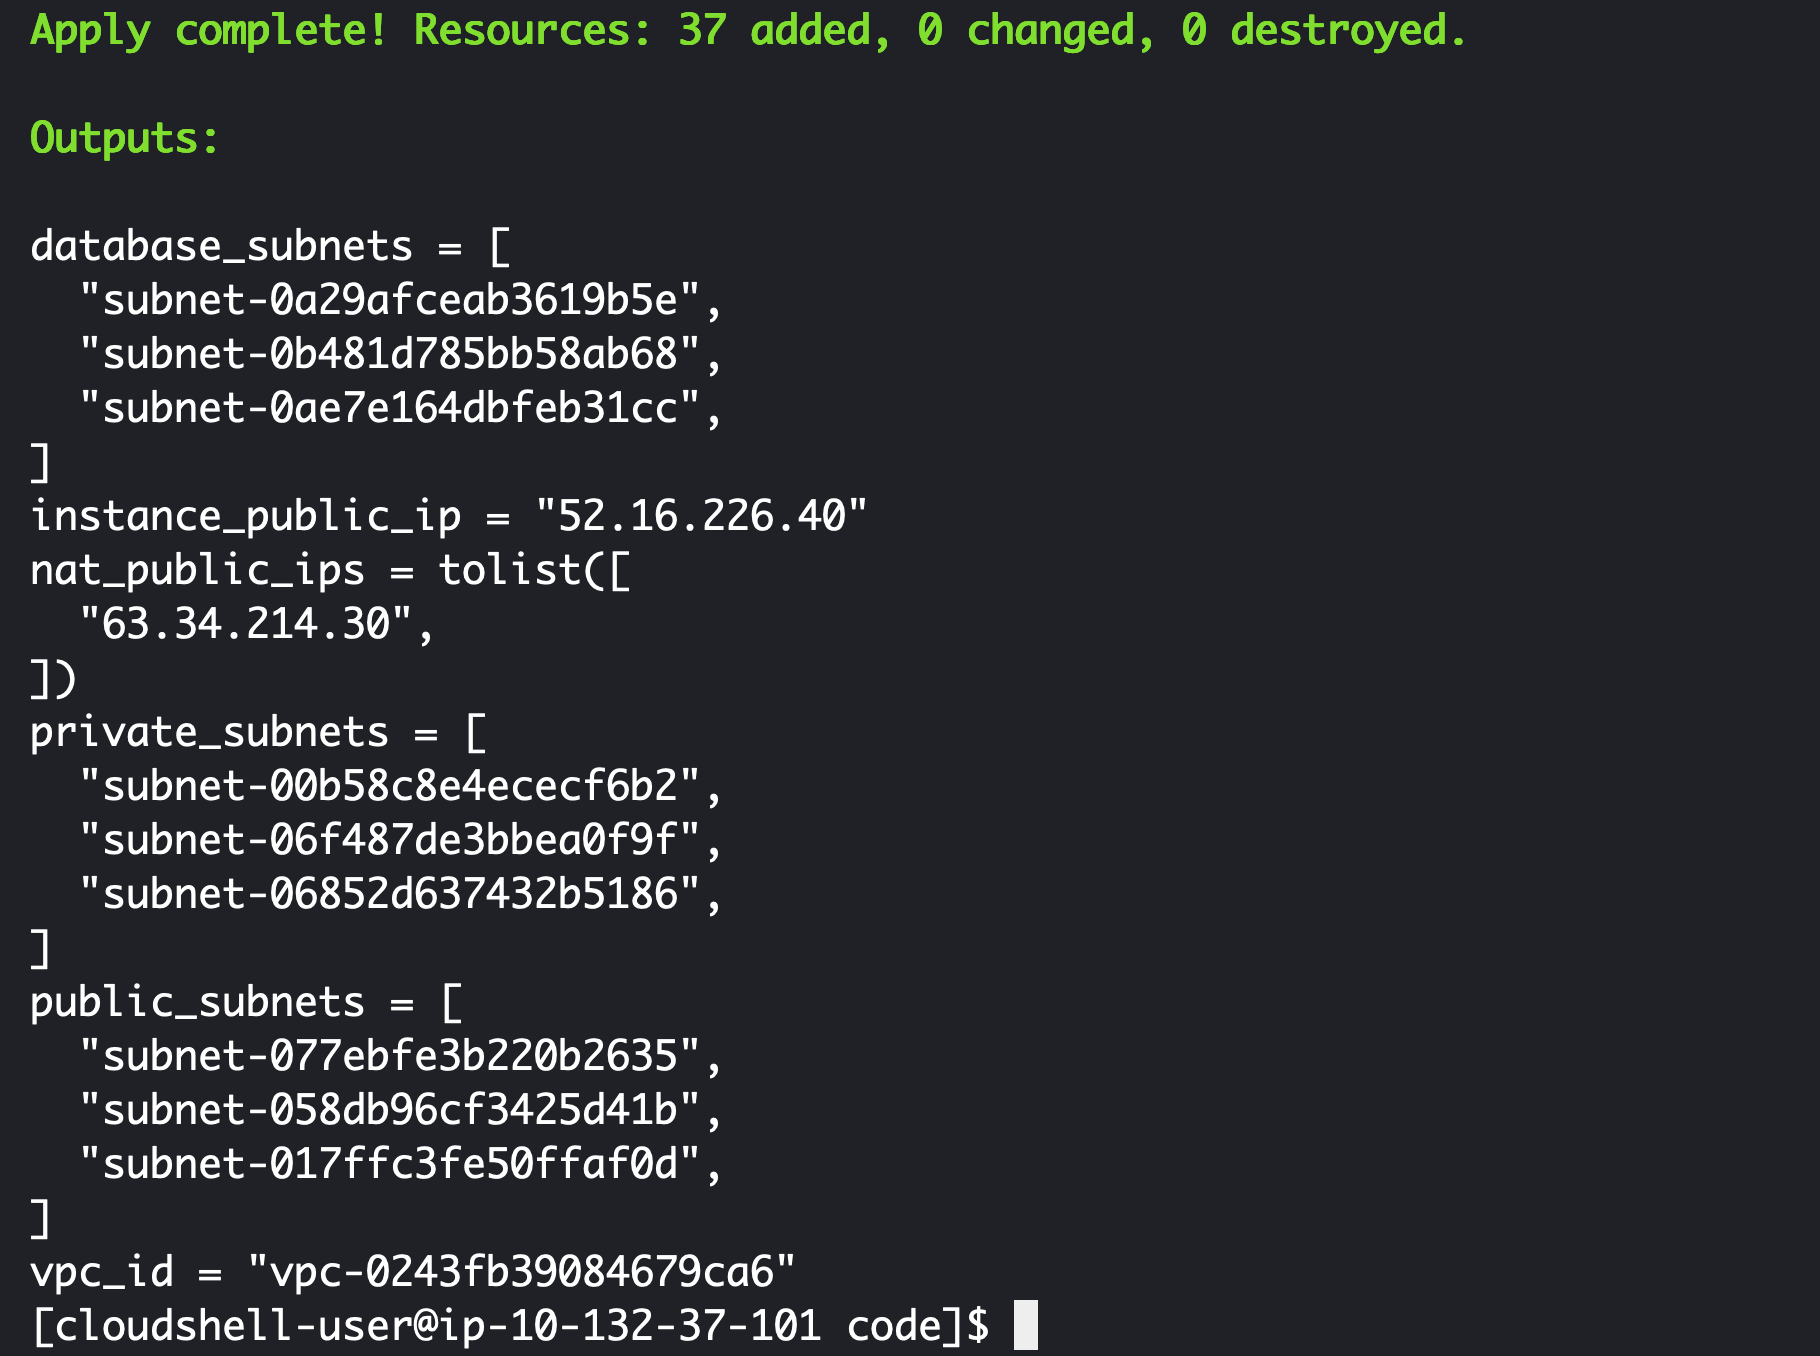
Answer yes at the apply prompt and you should end up with a screen like this:
Embedded in there you'll see something liek this instance_public_ip thats out new output, copy the value and head to http://<YOUT_VALUE>/ and you should get a very similar looking default nginx page.
 (I'm of course in dark mode, don't worry if yours is white with black text!)
-
Validate
-
Plan
-
Apply
-
Update
-
Destroy
